by djnarrative | 26 Mar, 2014 | Reckorder Tutorials
I've heard this mentioned quite a few times in various places as a solid comprehensive go-to mixing & mastering tutorial, so was pleased to find he had been uploaded to youtube for free information o/ Here is all 7 parts of the excellent Andi Vax's Mixing...

by djnarrative | 13 Mar, 2014 | Reckorder Tutorials
For any users of Massive - here is a nice little tutorial forum post from Soundpunk, which shares a solid overview and some interesting sound design tricks and...
by djnarrative | 15 Feb, 2013 | Reckorder Tutorials
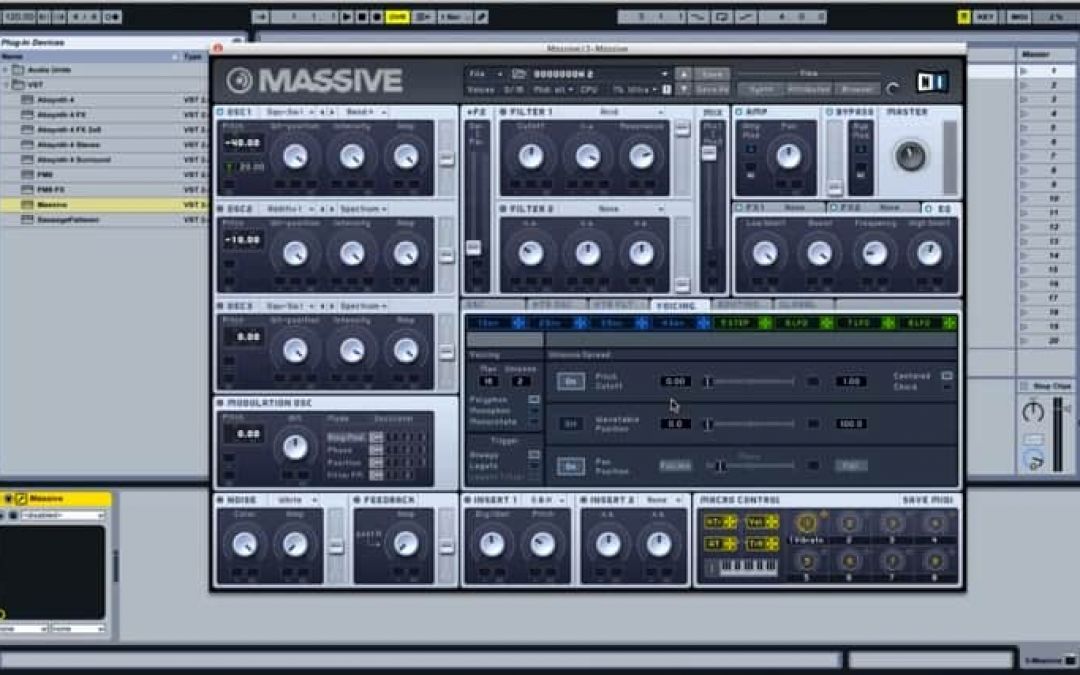
Another bass design tutorial from Massive Synth dot com this time creating a more dubstep style patch from the talking wavetable...
by djnarrative | 10 Feb, 2013 | Reckorder Tutorials, The Reckorder Project
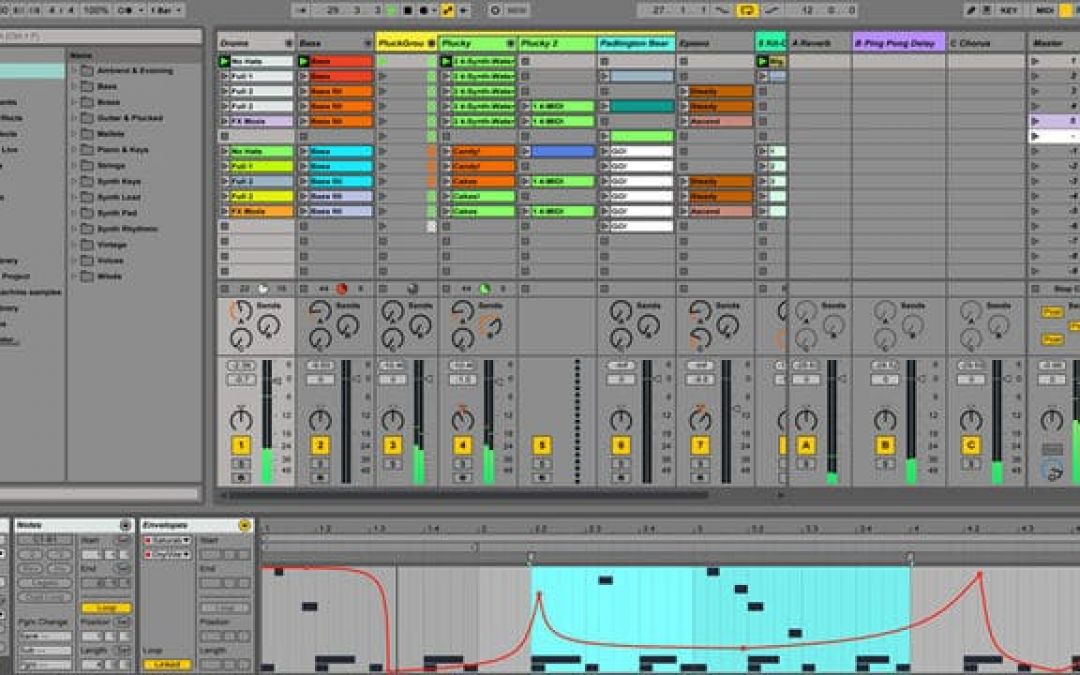
A large reason for updating various parts of the virtual studio, was to get past the limit of 64 bit processing. Ive been using the 64 bit beta version of ableton 8 for a while, and its allowed me a lot more flexibility with the ram hungry plugins. Ableton 9's beta users went really quickly, but a few days ago it was open and i downloaded a copy to try it out. Synchronistically a lot of the functions ive been excited about in previous posts, like convolution reverbs and native kontrol functionality have been included in Ableton 9, and even things that ive done manually like recreating the melody and playing in rhythms live from drum loops are included! There are loads of posts all over the net detailing the various new functions, so i wont list them all here, but suffice to say, things like clip automation, and the extracting rhyhtms and harmonies from audio has been on the wishlist for a while, and im really looking forward to seeing how i can merge the things ive been learning with these new features. The max for live stuff plugins like the lfo and buffer shuffler are equally awesome additions and the library you get with it is huge. I'll post the seminar which shows the and one from Tom Cosm as they both show Ableton 9 in a workflow sense. And here's a little about the buffer shuffler from another great electronic music making resource - Music Software...
by djnarrative | 3 Feb, 2013 | Reckorder Tutorials
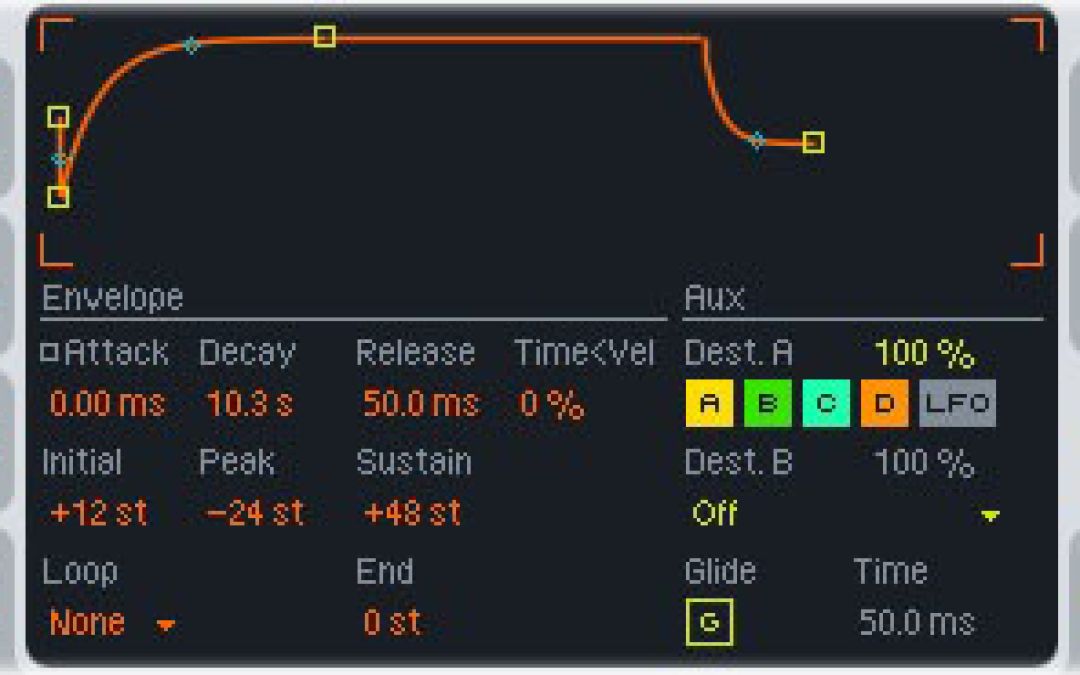
A couple of years ago i found some really useful tutorials from Vespers youtube channel, and he's since teamed up with Myagi to offer full courses. He still puts out free tutorials, and this one is pretty useful for anyone wanted to make a riser from Ableton’s Analog subtractive synth and effects chain containing Simple Delays and an Autofilter. There's a whole host of ways of making risers, and it's a good one for experimentation with samples or synths, reverse reverbs, etc. Another method is this written riser tutorial from quadraphone and there's a host of sample packs available...
by djnarrative | 12 Jan, 2013 | Reckorder Tutorials, The Reckorder Project
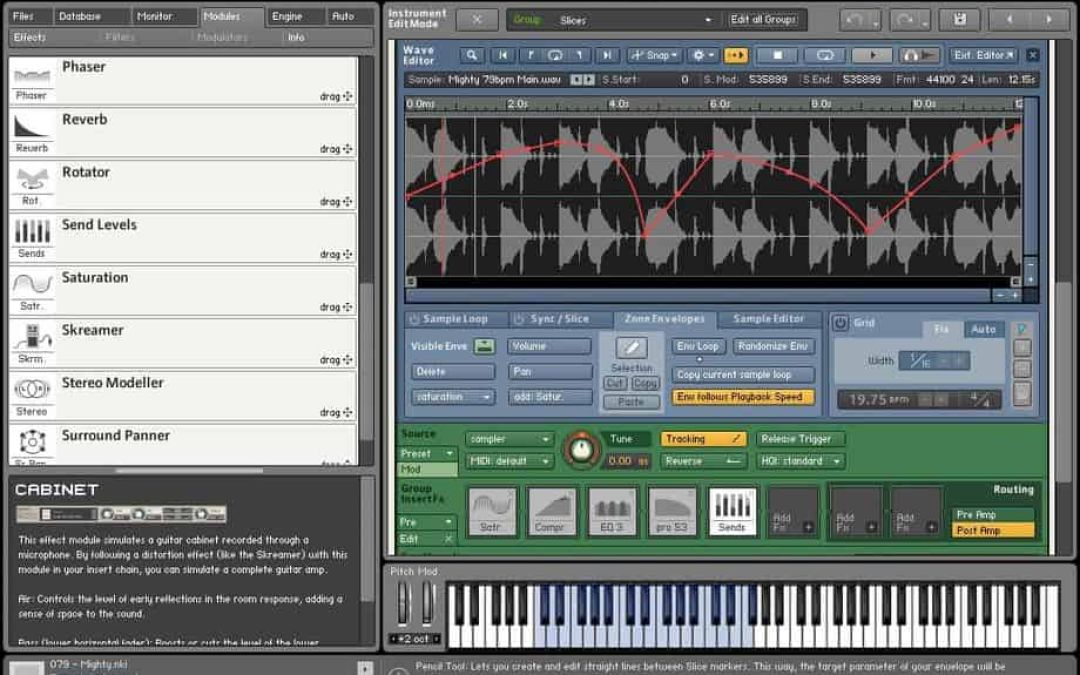
One of the vsts that house other instruments is Kontakt. Its a powerful sample player, and i decide it would be good to learn about all the depth it has to offer, with a couple of courses under a new offer from Mac Pro video. The first was a basic course which gave an overview to many of the functions that id previously not used. Heres my notes Overview To Save into your own folder. Go to - Browser - Options - Directory - Add. The folder will then show up in your browserm where you can save as. Suggested folders are Bass, Leads, Pads, Effects, Bass Patch Oscillators Osc 1 & 2 Sqw Swl - Spectrum and set amp to full Lower Pitch - o.9 to give a natural chorus effect and thicken up the sound Osc 3 Drive By - Spectrum and set amp to half Raise pitch to 24 to add high harmonics & set wavetable position to middle Enable ring mod and wave table position on oscillator modulation & set to half Dynamic Filters Lo Pass 2 - Add a little resonance and open the filter (Cut Off) fully. Want to hear just filter one so put in series mode (or have set to mix 1) Move filter cut off to add movement on e.g the higher notes. Then assigned envelope 1 to the cut off and found that moving the attack decay and release dials really changes the timbre of the sound. Easy to get a soft subby bass or a growling saw tooth bass by moving the decay. You can focus on affecting...
by djnarrative | 7 Jan, 2013 | Reckorder Tutorials, The Reckorder Project
I also watched the Trilian Masterclass which was equally as useful, and wrote a load of notes as standard. As they are both spectrasonics products and have a similar setup i was hoping the tutorials would cover different ground and i think they do. Or at least my notes should do. Multis Top browser loads multis and the below browser loads patches. Each multi can have up to 8 parts which can each have 1 patch. Zoom windows give more info about the multi or patch. The multi browser allows us to filter the options by Type of performance, Model that was recorded and Technique Keyswitching technique allows us to select the articulations / parts by using the bottom 8 notes in live mode. You can change the controls on each of the parts main and edit page. Live mode Soundsource most or all note pitches were recorded and mapped across the notes, with each pitch was recorded multiple times at multiple velocities Playing same notes normally sounds like machine gun effect. But and on trillian (plus sustain pedal pressed down) it activates round robin samples which are multiple versions of a single note pitch and strike intensity. You can select Sequential, Random, Random Full Cycle option The articulations in the full part of the multi also include legato release notes, which add realistic hammer on / off legato notes to notes that are next to each other on the keyboard. Only one note at a time can play, unlike all the other notes which can be played together. Legato function only happens when overlapping sustained notes are a...
by djnarrative | 4 Jan, 2013 | Reckorder Tutorials, The Reckorder Project
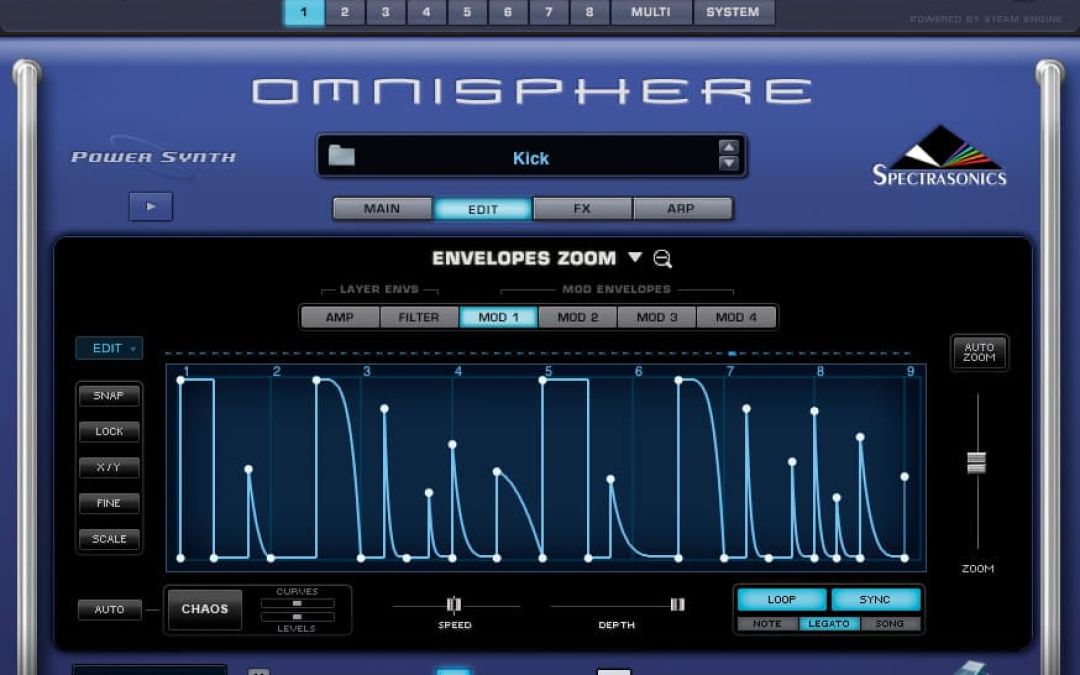
When joining the aforementioned Mac Pro video site you get a special discount offer emailed. You also get a pretty large discount if you buy more than one, so i decided to get to grips with 3 of my other main vst instruments - Omnisphere, Trilian, Massive and Kontakt. I bought Omnisphere a couple of years ago and their own tutorials are excellent, so i was a little reluctant to purchase the Spectrasonics ones from macprovideo. However i'd seen a free part of the Trilian on a dj mag a couple of years back which taught me loads that wasn't covered so i was pretty confident these would be worthwhile, and i've been very pleased. Starting with omnisphere which in my opinion is the best synth i've ever used, here are my thinking rock notes from omnisphere. Overview Overview Soundsource - can be synth (digitally synthesised oscillator or waveform) or Sample (group of key or velocity mapped samples) Layer contains all the sound shaping, synthesis, modulation capabilities and is where the sound design and sythesis of the soundsource happens. Patch contains 1 or 2 layers. Part contains a Patch, so they are interchangeable terms Patch/Part wide synthesis parameters and performance controls are found in the Main Page Multi contains 8 parts in one instance of massive and recalls the entire state of the vsti. These include Patches, Global FX, Keyboard Stacks Nand Splits, Mixer Setup, & Live Mode Settings. Interface Top row of buttons Parts 1 through 8. Access Mixer & System wide views. Top Left Main Page View Controls access patch wide controls, Part level, Velocity Curve, Pitch...
by djnarrative | 27 Dec, 2012 | Reckorder Tutorials, The Reckorder Project
A couple of years ago i bought Izotope's Stutter Edit. Its one of my favourite effect plugins, as its both playable, and uber useful in the studio. As the name suggests it glitches up the sound, and being designed by B.T means it gets real deep with the edits. While i love the fact its so playable i hadn't really got to grips with under the hood, so i took a macpro video course to fill in the blanks, and was really pleased with how in depth it was. It basically covered everything, and gave me loads of ideas and inspiration for how to use it. Heres my notes that i took in thinking rock. How to Setup and trigger Stutter Edit 1. Play stutter actions without midi keyboard by going to preset manager and clicking on the keyboard. 2. To play with midi keyboard add stutter edit to the audio channel, create a midi channel, and route its output to the audio channel and into stutter edit. Set the monitor to IN and then you wont need to turn on the record button to trigger it. Interface overview 1. It syncs with tempo of Daw 2. Note type - 1/2 note & 1/1024 selected you will get a stutter effect, if just the 1/2 or 1/4 you will get beat repeat mode. 3. Stutter module is where audio comes into the plugin 4. Quantize module is where you set the quantize and can reorder the audi 5. Gate width is the length of each the slices 6. Jump Pan is panning 7. Stereo Delay is dub delay with...

by djnarrative | 20 Dec, 2012 | The Reckorder Project
Today i took some time out to learn the pad Kontrol & finger drumming techniques. As mentioned in a previous post i use 128's in drum rack, but i wanted to somehow switch to a new template and create / save custom kits, instead of building them up each time. After a lot of reading and trial and error i've come up with a mixture of the two and also found some awesome finger drumming tutorials which I'll post in the next blog. The pad Kontrol is pretty straightforward with a nice response on the pads, and the creator of the aforementioned Lpc series, Stray, has put up a nice overview tutorial here, which also highlights a real nice method for creating custom kits. And another here which has a cool way of assigning the rotary controls. Til now ive just used scene one, which is automatically set to whatever the drum rack square is focus on. But i wanted to merge the method Stray uses in the 1st video with my existing Ill Gates 128's method. After a while I found that i have to forgo using scene one to automap to ableton's drum rack square as you have to select pad kontrol as a surface for this, and for some reason it sends out strange notes as a result. So I decided to map each of the 128 drum rack pads from bottom to top to scene 1 to 8 (C-1 to G9) To achieve my previous setup of using my 128s , Scene 9 is mapped to the default drum rack position which allows me to use...
by djnarrative | 3 Jun, 2012 | Reckorder Tutorials
Wicked tutorial from Reso breaking down how he makes those filthy bass lines Reso Production Masterclass Pt. 1 Reso Production Masterclass Pt....
by djnarrative | 3 May, 2012 | Reckorder Tutorials
Here's a cool tutorial with Mr Scruff taking us through his process of making a track Mr Scruff - Producer...
by djnarrative | 7 May, 2011 | Reckorder Tutorials
Ninja Tune's talented producer Bonobo takes us through some great production techniques in this 3 part...
by djnarrative | 3 Apr, 2011 | Reckorder Tutorials
A couple of useful videos for these two effects in Ableton Using Vocoder Using Beat...
by djnarrative | 30 Mar, 2011 | Reckorder Tutorials
If you're producing your own music, there are (at least) two approaches to mixing down your music. Mixing while you go along and/or after you've arranged the track. I used to only look at mixing the tracks after i had an arrangement i was happy with, but nowadays i find that mixing as i go makes a big difference with the final mixdown being for final touches. If i was to start again i think i would definitely pay a lot more attention to the mixing process as i was making music. The main reason being that frequencies get taken up with each layer/idea you add into the mix, and the ideas can very quickly get lost. Its a particular issue if you use loops, as if you've then got to go back and eq the loops so all the elements punch through the mix, the whole character of the track can be changed, and it becomes a lot of hassle. The reason for not mixing, for me at least, was to retain that creative flow. I'd find that ideas would come out really quickly, and i didnt want to get bogged down with what i viewed as technical side. Now however i view it more as a big part of the creative process where you are moulding that sound, and paying particular attention to what frequencies the sounds and layers you are adding are taking up. As you might expect hearing the frequencies only really became possible when i was able to afford a decent set of monitors, though i'd suggest not making the mistake i did, or...
by djnarrative | 20 Jan, 2011 | Reckorder Tutorials
A nice little video tutorial on how to play a song i've always wanted to be able to. Here's part one. And Part Two...
by djnarrative | 10 Oct, 2010 | Reckorder Tutorials
The FCB 1010 is a 10 pedal midi foot controller from Behringer. Its fully programmable so you can use it with any software. Took me a while to get my head around it, so here's the useful links which helped me. As i mentioned in the guitar rig post there were two great video tutorials which showed you how to program the fcb1010. For some reason they've been taken down by the creator, but this pretty much gives the same information - http://createdigitalnoise.com/viewtopic.php?t=1782 This is also useful for programming the fcb 1010 - http://forum.ableton.com/viewtopic.php?t=55557&postdays=0&postorder=asc&start=15 as is this - http://waysidedrive.com/blog2/2009/05/15/how-to-program-a-behringer-midi-foot-controller-fcb1010-for-ableton-live/#content There's also a free graphical pc editor here - https://secure.mtnsys.com/faq-fcb/PCEditorBeta.htm or a paid mac editor here -...
by djnarrative | 8 Oct, 2010 | Reckorder Tutorials
The nocturn is a really useful and affordable little midi controller. It can be used for basic dj functions, but i find it most useful in the studio. Using the automap software which comes with it, setup is pretty straightforward. Basically you open the automap version of the instruments and automap will automatically map the nocturn to some of the controls. You can then map the rest by clicking learn button, moving the control on screen, and then moving the nocturn, or you can assign parameters by manually selecting the control from the parameter menu. You can rename the automap controls as you like and then save as to save the control map. NOTE for most vsti's and plug in this works fine, but for spectrasonics you must do it differently and setup control maps manually by right clickin on the parameter in e.g trilian and select “enable host automation”. This also tells you the cc number of the parameter which you then assign/select in automap. The best place to start is the novation tutorials, which are pretty comprehensive. I found this one particular useful after i'd worked out the basics And i also picked up a few useful tips from this dj mag review And you can also setup the nocturn to control ableton functions (and the 1st 8 parameters of any focused device) There was one issue with the above video, which was the focus up & down, which was sorted manually mapping the buttons to alt-up and alt-down. To focus on browser u need alt-left as well. To do this using the nocturn control map just...
by djnarrative | 8 Oct, 2010 | Reckorder Tutorials
I've always found the language of music really interesting, and there's a lot to be gained from learning the lingo. How you are taught, often determines how interested it becomes, so if you've a vague interest in music theory, these 4 episodes of how music works are a really good place to start. And after that here are some useful resources which might also help 6 free chapters from the how music works book- http://www.howmusicreallyworks.com/Pages_Chapter_4/4_2.html How many scales there are - http://www.abrsm.org/forum/lofiversion/index.php/t25726.html Intervals explained - http://en.wikipedia.org/wiki/Musical_scale Key of music explained - http://en.wikipedia.org/wiki/Key_%28music%29 Circle of 5ths explained - http://simple.wikipedia.org/wiki/Circle_of_fifths How chords are made up - http://www.cyberfret.com/theory/chord-construction/basic/index.php How to find the key - http://www.ultimate-guitar.com/forum/archive/index & http://www.macosxaudio.com/forums/viewtopic.php A useful tool to determine notes in a scale - http://www.cyberflotsam.com/phatphish/index.htm A whole site about music theory - http://www.musictheory.net/ And a free pdf on music theory and composition - http://www.ravenspiral.com/ravenspiralguide.pdf Hope some of this has proved useful and any links, tips of feedback gratefully received...
by djnarrative | 8 Oct, 2010 | Reckorder Tutorials
Part 3 of a short video series that cover very simple but often overlooked functions of Ableton Live and Production Ableton Live Quick Tips 3 from Tom Cosm on Vimeo. And 10 tips from Tom Cosm 1. To reset a parameter (knob or fader) to it’s default value, select it and hit delete. I am always mucking around with random parameters in a trial and error fashion, but sometimes it just sounds like balls so a quick hit of the delete key lets you reset, forget and move on. 2. Want to move everything in the piano roll up or down an octave? Command+A (Select all) then Shift+up or down. This is great to take that bassline down an octave, or that synth line up. 3. Holding down the ALT key while having the pencil tool selected will allow you to draw lines freehand instead of snapping to the grid. 4. Learn to change the grid size intro triplets, or off completely using key commands. The most important one is Command+4, this turns the grid off and on. 5. To move just a few notes in the piano roll, select them by holding down Shift and clicking. This is great if just a few bass notes are two low. Shift+click them and then use tip #2 (Shift+up) to move them up an octave. 6. Hold down Shift while pushing spacebar to play back the audio exactly where you last stopped it. 7. Use Command+D to duplicate a loop AND it’s automation, then drag the end of the first loop instance across to cover the rest. This allows you to...
