by djnarrative | 6 Jan, 2014 | Reckorder Tutorials
One of my favourite synths is Omnisphere, and i really rate the company Spectrasonics and it's founder Eric Persing too. Here's a really nice little interview, plus a load of great tips from the plug in guru The plug in guru has loads of tutorials on Omnisphere and other synths on his youtube channel & he sells his own custom patches on his...
by djnarrative | 7 Jan, 2013 | Reckorder Tutorials, The Reckorder Project
I also watched the Trilian Masterclass which was equally as useful, and wrote a load of notes as standard. As they are both spectrasonics products and have a similar setup i was hoping the tutorials would cover different ground and i think they do. Or at least my notes should do. Multis Top browser loads multis and the below browser loads patches. Each multi can have up to 8 parts which can each have 1 patch. Zoom windows give more info about the multi or patch. The multi browser allows us to filter the options by Type of performance, Model that was recorded and Technique Keyswitching technique allows us to select the articulations / parts by using the bottom 8 notes in live mode. You can change the controls on each of the parts main and edit page. Live mode Soundsource most or all note pitches were recorded and mapped across the notes, with each pitch was recorded multiple times at multiple velocities Playing same notes normally sounds like machine gun effect. But and on trillian (plus sustain pedal pressed down) it activates round robin samples which are multiple versions of a single note pitch and strike intensity. You can select Sequential, Random, Random Full Cycle option The articulations in the full part of the multi also include legato release notes, which add realistic hammer on / off legato notes to notes that are next to each other on the keyboard. Only one note at a time can play, unlike all the other notes which can be played together. Legato function only happens when overlapping sustained notes are a...
by djnarrative | 4 Jan, 2013 | Reckorder Tutorials, The Reckorder Project
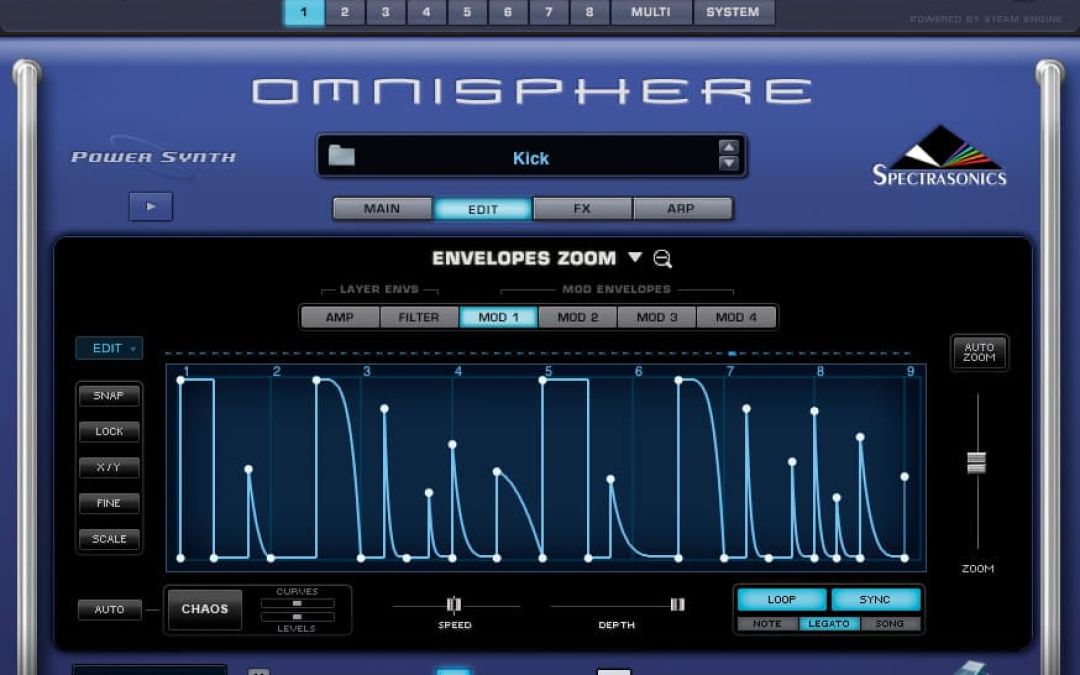
When joining the aforementioned Mac Pro video site you get a special discount offer emailed. You also get a pretty large discount if you buy more than one, so i decided to get to grips with 3 of my other main vst instruments - Omnisphere, Trilian, Massive and Kontakt. I bought Omnisphere a couple of years ago and their own tutorials are excellent, so i was a little reluctant to purchase the Spectrasonics ones from macprovideo. However i'd seen a free part of the Trilian on a dj mag a couple of years back which taught me loads that wasn't covered so i was pretty confident these would be worthwhile, and i've been very pleased. Starting with omnisphere which in my opinion is the best synth i've ever used, here are my thinking rock notes from omnisphere. Overview Overview Soundsource - can be synth (digitally synthesised oscillator or waveform) or Sample (group of key or velocity mapped samples) Layer contains all the sound shaping, synthesis, modulation capabilities and is where the sound design and sythesis of the soundsource happens. Patch contains 1 or 2 layers. Part contains a Patch, so they are interchangeable terms Patch/Part wide synthesis parameters and performance controls are found in the Main Page Multi contains 8 parts in one instance of massive and recalls the entire state of the vsti. These include Patches, Global FX, Keyboard Stacks Nand Splits, Mixer Setup, & Live Mode Settings. Interface Top row of buttons Parts 1 through 8. Access Mixer & System wide views. Top Left Main Page View Controls access patch wide controls, Part level, Velocity Curve, Pitch...
by djnarrative | 8 Oct, 2010 | Reckorder Tutorials
When i first bought Omnisphere i watched all the tutorial videos which gave e all the necessary information to operate it. There's a lot of videos so I wrote a few notes to help me remember the most useful bits. I'm not sure if they'll be useful to others, but here they are in case. BROWSER Use search and different attributes, etc to find the type of sound you want. (This is also where adding keywords to your patches comed in handy) Also use the midi learn to map the up down keys to select sounds with your midi controller as opposed to the mouse. Using Arpeggio (Presets on Main screen) makes playing in time and key very easy. Adjust other settings and add suitable sounds for a and b to create the right patch, saving with info. LIVE MODE & STACK MODE Live mode means you can play each sound from one channel, and switch/layer sounds live. In Live mode you can select and/or layer the patches using the midi keys, program change buttons or cc's . (Remember latch/touch setting in settings tab) Stack mode allows you to trigger the patches from the keyboard by using keyzones. This means we can create a bank of patches and play/record the track transitiions, etc live. Also you could use two keyboards plugged into the same omnisphere, e.g 1-4 as the strings and pads played by one person and the rhythmical and arpeggiated patches on 5-8 played by someone else. Various efx could also mapped to another controller to give even more collaboration performance. EDIT PAGE & MODULATION To get movement...
by djnarrative | 8 Oct, 2010 | Reckorder Tutorials
I havent used this for a while, but i think its a great tool for manipulating loops and there's loads of great new features with the more recent updates. Spectrasonics have all the tutorial videos covered on there site - http://www.spectrasonics.net/instruments/stylusrmx_videos.html but i remember trying out the Sage converter which opens up a whole new world of possibilities for your loop library, so heres the notes of what i did. 1. Grab a Loop from your loop library and import into Recycle. 2. Increase the sensitivty to make slices and Export (Leave transmit as one sample off to make slices) 3. Import into Sage Converter, creating suite name 4. Open in Stylus Rmx under user Libraries and Select Slice Menu Mode to play slices with Keys. (Note that you can do this with any kind of loops) 5. Assign each sound in the loop to its own edit group, by - Create Edit group by playing a note, and then adding and removing slices to the edit group and create other edit groups for each sound 6. Then affect each sound with the efx, envelope and filters, and assign a different output to each one, further affecting and equing each sound as necessary 7. Then with loop set, jam a drum loop with the favourite pieces either over in instead the original loop 8. Name this first midi channel Master Drums, and copy the midi track to each of the stylus channels on the arrangement window, deleting the parts to leave kick notes on kick, snares on snare, etc. Rename channels as Kicks Midi - Stylus Rmx 1, Snares...
