
by djnarrative | 14 Apr, 2015 | Reckorder Tutorials
Some quality advice here from another fine resound blog where he asks metalheadz artists to share a useful music making tip. And some useful ableton tutorials some of which you may have seen before and some you may not....
by djnarrative | 26 Mar, 2014 | Reckorder Tutorials
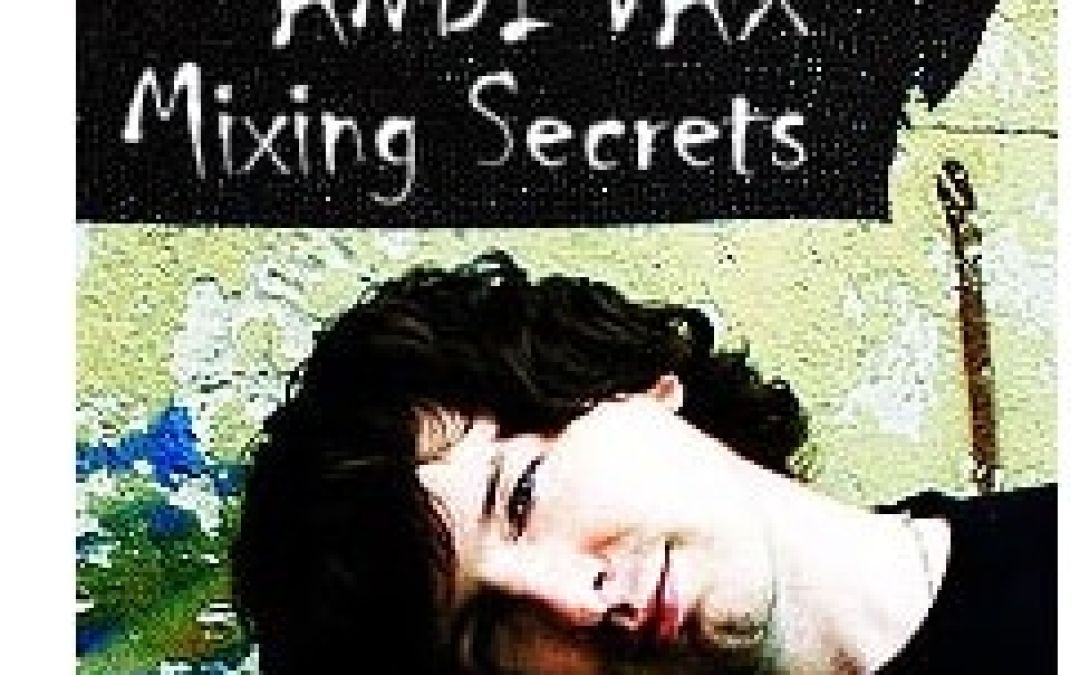
I've heard this mentioned quite a few times in various places as a solid comprehensive go-to mixing & mastering tutorial, so was pleased to find he had been uploaded to youtube for free information o/ Here is all 7 parts of the excellent Andi Vax's Mixing...
by djnarrative | 15 Jun, 2011 | Reckorder Tutorials
Mastering should generally be left to the professionals with it being an art untoitself however there are many things one can learn and develop in order to develop the final art of the production process and here are a few links i seem to have gathered along the way which may help shed some light http://www.waves.com/objects/pdf/general/Update-and-Errata-web.pdf http://www.gearslutz.com/board/mastering-forum/58252-mastering-cubase-sx.html http://www.tweakheadz.com/plugins_for_audio.html Plus here is a great video series from Dubspot on my favourite mastering and producing plugin - Ozone I have a few friends that are highly talented mastering engineers so i wouldn't say these can get similar results but maybe they can help push things forward and please do post your own findings in the...
by djnarrative | 30 Mar, 2011 | Reckorder Tutorials
If you're producing your own music, there are (at least) two approaches to mixing down your music. Mixing while you go along and/or after you've arranged the track. I used to only look at mixing the tracks after i had an arrangement i was happy with, but nowadays i find that mixing as i go makes a big difference with the final mixdown being for final touches. If i was to start again i think i would definitely pay a lot more attention to the mixing process as i was making music. The main reason being that frequencies get taken up with each layer/idea you add into the mix, and the ideas can very quickly get lost. Its a particular issue if you use loops, as if you've then got to go back and eq the loops so all the elements punch through the mix, the whole character of the track can be changed, and it becomes a lot of hassle. The reason for not mixing, for me at least, was to retain that creative flow. I'd find that ideas would come out really quickly, and i didnt want to get bogged down with what i viewed as technical side. Now however i view it more as a big part of the creative process where you are moulding that sound, and paying particular attention to what frequencies the sounds and layers you are adding are taking up. As you might expect hearing the frequencies only really became possible when i was able to afford a decent set of monitors, though i'd suggest not making the mistake i did, or...
by djnarrative | 5 Nov, 2010 | Reckorder Tutorials
Once you've got a killer track how do you get it heard. The game is constantly changing in the social media world and i'm going to write a specific post on the topic, but i just wanted to share this email that i recently received from a local up and coming singer. She's just had a track remixed by a local dubstep producer and got in touch to ask if i had any advice on how to get some gigs. Im no expert but i offered a few ideas she may not have tried and thought it might be worth sharing on here. ------------ I just wondered if you could give me some advice on where to start really please. My dubstep remix is nearly finished and my aim is to see if any djs will play it in the local clubs and if I can get any performances. Do you know any links to djs promoters etc?------- Hey Sarah If you want it played by djs then id say a good place to start to find all the dubstep events and radio shows in brum. Scour the flyers, search on facebook and google for any contact nights and contact info you can find. Then get in touch with the djs, send them a copy and see if they'd be interested in dropping it at a gig or on their show. On rhubarb radio obviously boogie and ross have a purely dubstep show, and you could also try skeleton and dolhasz who do the beat suite as they play dubstep, and also possibly brumcast as he only plays brum...
by djnarrative | 5 Nov, 2010 | Reckorder Tutorials
Sidechaining was something that used to confuse me but then i saw an early video by Tom Cosm who simplified the process nicely. Basically sidechaining is using one audio source to trigger a compressor on another audio source or in more simple terms, it is normally used for making room for the kick to punch through as the kick and the bass occupy similar frequencies. This can be done by manually drawing in volume changes so each time the kick hits the bass is lowered, or more easily this can be done using a compressor with a side chain function. Abletons compressor has a side chain built in or if you use another sequencer here's a nice free one. He's since posted a more specific video which evolves the process further so to keep things nice and simple here it is. An earlier video i had bookmarked is here http://www.youtube.com/watch?v=1Tv7gAi2OKY and when using cubase Sx i had this youtube video bookmarked which have been useful in the past. http://www.youtube.com/watch?v=oHfN9yeuoew&feature=related Hope thats useful and any comments or tips please let us know in the comments below...
by djnarrative | 5 Sep, 2010 | Reckorder Tutorials
This is a very old tip i wrote down and is probably outdated now. Nevertheless i'll post it just in case anyone is using an older version of cubase. You never know. 🙂 One of the things i used to have trouble with was wanting to get my midi controllers controlling the virtual instruments on my computer. The ones in question were the cme uf6 keyboard (knobs and sliders), and a uc-16 controller (knobs) I'd heard about remote control, but my previous tests had no luck..This time though i stuck with it and worked it all out, so here's what i did. First open cubase sx 3. Go to device manager, remote devices. generic remote, and delete everything (just to tidy it up). Then add a controller in the top panel of the two. NOW click Learn whilst moving the first controller (on the cme). I found it took a bit of wiggling before cubase picked it up, but once it did, it displayed the controller number. THen i went to the uf editor for my cme keyboard, and clicked on send. This bought up the rotarys and faders for when the light is on (on the keyboard for the rotary's) And for the faders when the 2nd / bottom led is on. NOTE When the light is not on the rotarys and the first light is lit for the faders these appear to be the default settings so therefore not need to be changed, as they are mapped to 74, 71, 73, 72, 10, 91, 93 (and whatever midi message tempo is). The faders are all set to...
by djnarrative | 3 Sep, 2010 | Reckorder Tutorials
Found this in my bookmarks and remember it was useful when first looking at drum layering in Ableton A quick tutorial looking at creating drums in Ableton Live 8, including simple production techniques like layering samples to create a single cohesive sound, as well as drum equalization and...
by djnarrative | 3 May, 2010 | Reckorder Tutorials
I'm going to post a proper tutorial on mixing the kick and the bass but til then this here's a really useful video from the Mikechav on mixing the kick...
