by djnarrative | 1 Mar, 2015 | Reckorder Tutorials
Short and sweet little tutorials from Izotope which i thought id post up in one post as they contain a few cool titbits for new users of the software And a more in depth tutorial series from...
by djnarrative | 13 Nov, 2014 | Reckorder Tutorials
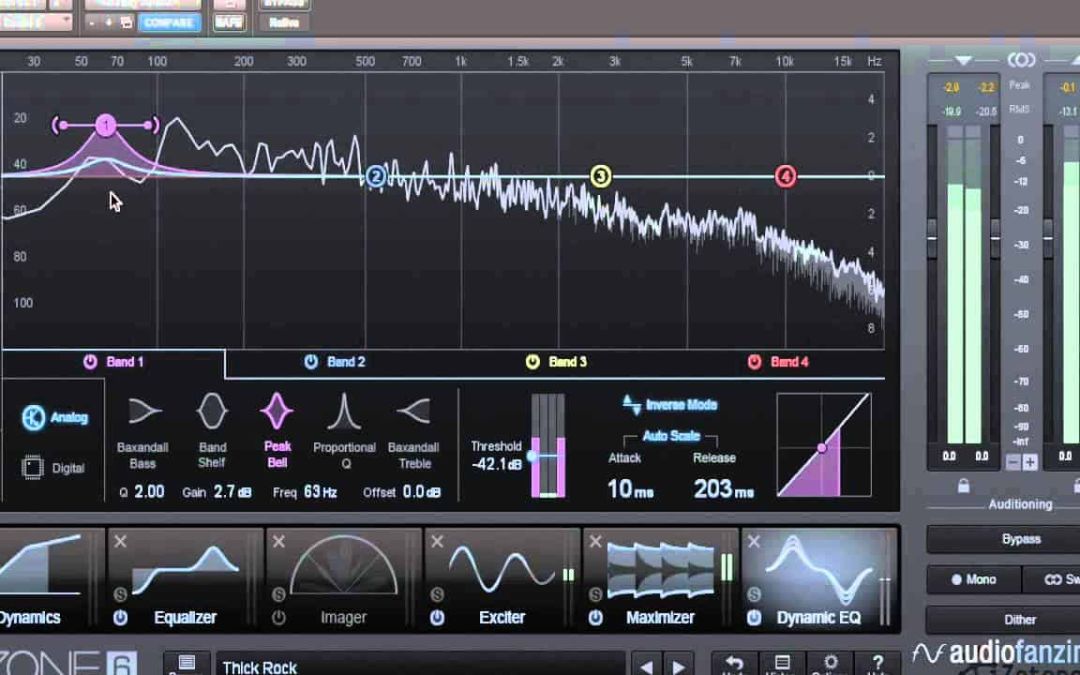
Im a big fan of Izotope products. Having bought stutter edit, alloy 2, trash 2 and ozone 5. When i was at Xenophorm studios recently i was introduced to Dynamic eqs so was pretty excited to see it included as a module in the Ozone 6 previews. Unfortunatly it was only included in the Advanced version which with an upgrade offer was still 300 odd quid. Izotope weren't interested in reducing this in exchange for any kind of review but i managed to find a last minute solution literally the day the offer closed and went with the upgrade. Haven't had time to play much with it, but i really like the workflow, interface and modules, especially the dynamic eq and the 3d insight analyser. I bookmarked a selection of videos when deciding whether to go with the upgrade or switch to the excellent Fab Filter plugins. I decided that for the money id get a lot more modules for my money and with advanced they can all be loaded seperately and am happy with the decision. The videos are here for reference and i will do a more in depth post when i get chance after new year. And here is a review on sonic scoop from a mastering engineer with real world...
by djnarrative | 7 Oct, 2014 | Reckorder Tutorials
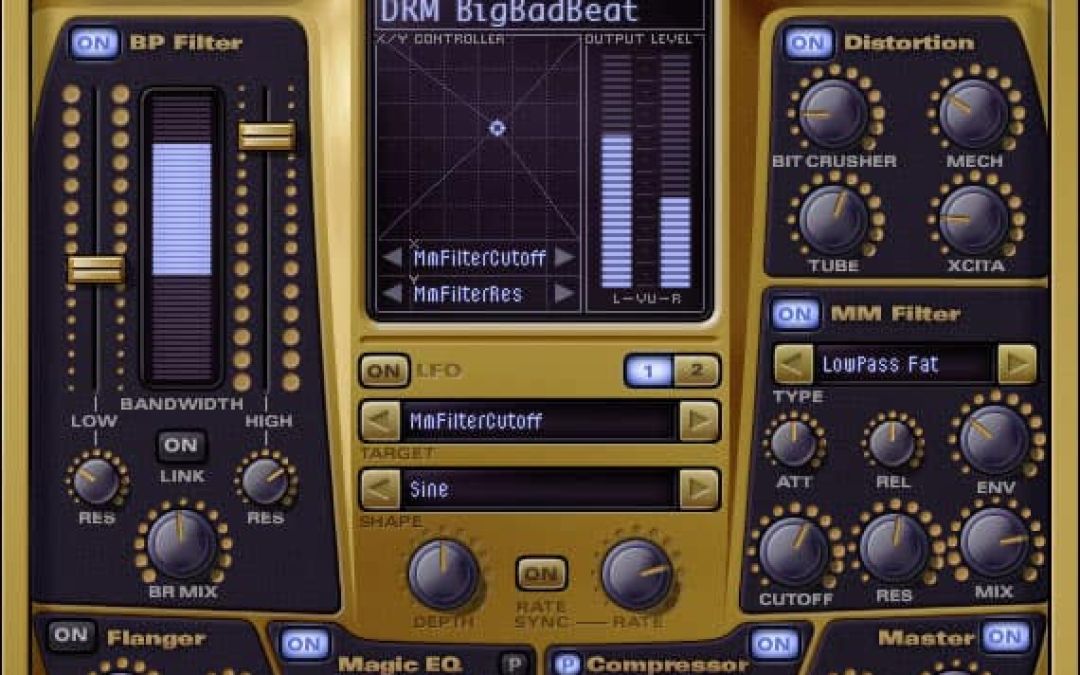
I havent used Breaktweaker and i often use Camel Phat and sometimes camel space, and all are on offer now. Breaktweaker has $100 dollars off until 16th October 2014. And Camel Phat & Camel Space has 35% off until 9th October...

by djnarrative | 25 Mar, 2013 | The Reckorder Project
A little over my alloted time for this third practice track, but I wanted to go through the process of mixing and diy mastering to see if i could improve. As expected ive made a load of mistakes and learnt a lot, so i'll attempt to note them down below for future ref. So after the first upload of the track, i wanted to get some dynamic sounds in there, and give the track more movement. I originally had the risers, one shots, and drops as 128s, but i found that it was counter intutive to play them with a pad kontrol, despite what my left brain was telling me. I got much better results by previewing them in the browser and laying them out as normal audio tracks as i needed control over the lengths and warping, and it made it easier to see them in audio for me. The other part of the dynamics was glitchy edits, and again i went through a process of trial and error before finding a way that worked. It needs tweaking as it ended up taking too long for my liking, as using stutter edit is a little counter intutive for me as im more used to editing in audio. As a result i was finding that i was avoiding the stutter edits as it seemed too random, so i started off by making my own banks of presets of stutter edits as starting points. Next i decided to resample each track after it had gone through stutter edit, and then edit the results in audio. I did this by dropping...
by djnarrative | 5 Feb, 2013 | Reckorder Tutorials, The Reckorder Project
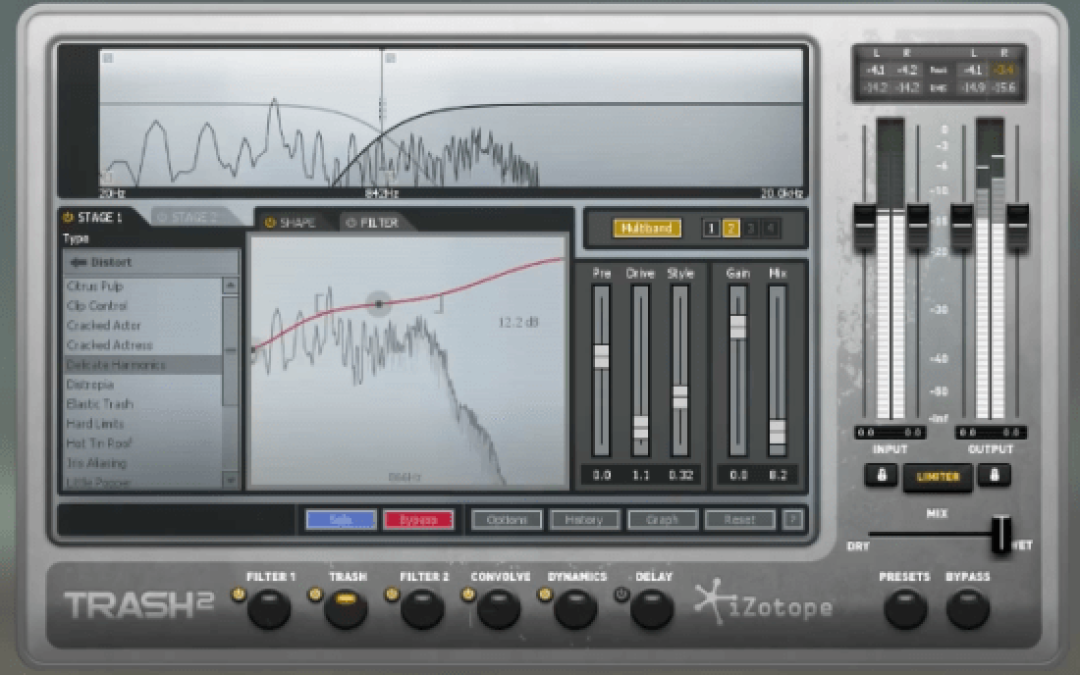
Distortion is something ive generally kept for guitars, bass and breaks for the most part, and til now ive only really used the included ableton distortion and external guitar effects. It something that has been missing in my setup and was on half price offer when i was updating the mixing and mastering plugins, so decided to treat myself to the grimy new trash 2. Trash 2 has loads of really cool features which aside from the offer, was the reason for going for it over other distortion plugins. I'd just listened to Tipper's spunion track in my last glitch hop mix which is a shining example of using those vowel filters he so expertly manipulates. Trash 2 not only has a load of dual filter options, but also convolution reverbs, where you can load in your own impulse responses. These were new to me when i first got the plugin, but i gained a little more insight with a few replies from a couple of accomplished producers from a facebook wall post. I'll post the edited highlights underneath this overview of the plugin from Izotope (Here's how a couple of producers use impulse responses) "Impulse responses basically accurately give you a dimension !! but very accurate to get a space in mix.. i use em as master reverb on sends" "My 2p - they're great for realism, less so for musical 'glue', for which synthesized verb still rules (Lexicon, Bricasti, etc). I use IRS for putting stuff in rooms - be it orchestral strings in a hall or drums in a kitchen and use algorithmic verb for flattery...
by djnarrative | 1 Feb, 2013 | Reckorder Tutorials, The Reckorder Project
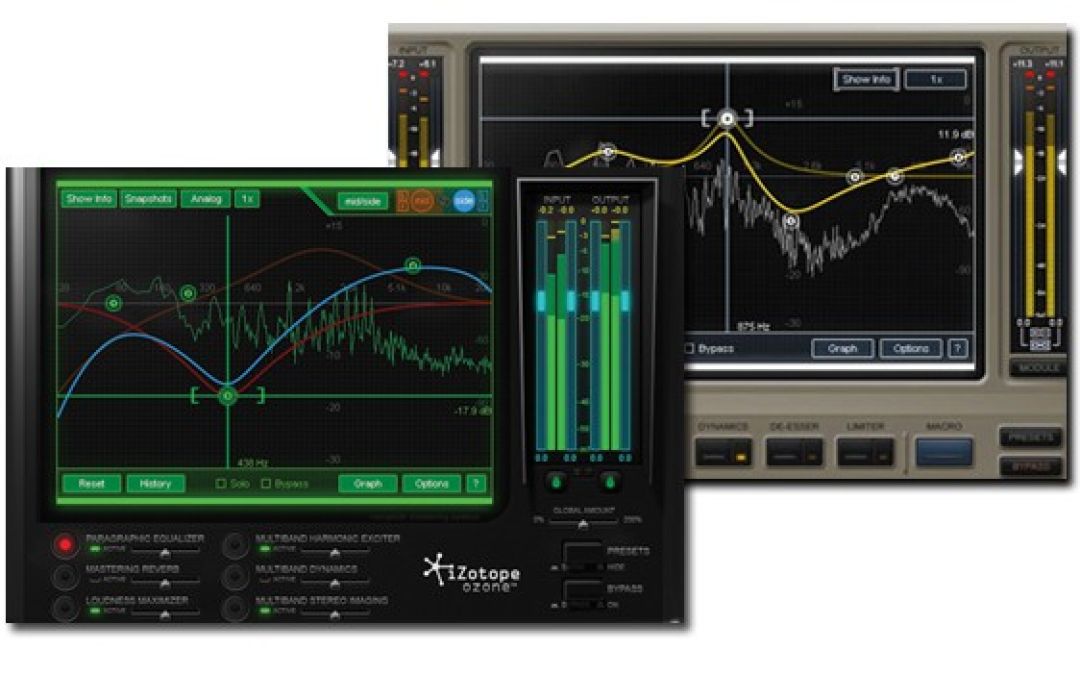
So these first couple of tracks were turning ok pretty cool for a learning stage, giving me lots of room to try out the new studio additions, but i was running up to the 20 hour deadline, so i decided to move into the mixing and mastering process to see what results i could get and start getting to grips with the ozone mixing and mastering bundle. I used a trial copy of earlier versions of alloy and ozone a year or two ago, and have always been impressed by the results, but never really got under the hood, so decided to take some time and learn a few tutorials. I'm writing this in retrospect but i'll try and remember the process. First up was Alloy and there was a few useful tutorials on their own site and this review from airuser who i c Next up i found this one, which used alloy to clean up some drums And this one which shares a cool tip on using the sidechain for creative effect, although i didnt delve too far into the side chain function when i used it. After watching these i felt i had a pretty decent understanding and started to have a go myself with my tracks. I probably spent a day or 2 on each one, but the process was roughly the same. First i'd zero all the faders and balance the levels as best as i could. Then i exported all the stems as the processor was maxxing out, and add an alloy to each one. I found i need to rebalance all the...
by djnarrative | 27 Dec, 2012 | Reckorder Tutorials, The Reckorder Project
A couple of years ago i bought Izotope's Stutter Edit. Its one of my favourite effect plugins, as its both playable, and uber useful in the studio. As the name suggests it glitches up the sound, and being designed by B.T means it gets real deep with the edits. While i love the fact its so playable i hadn't really got to grips with under the hood, so i took a macpro video course to fill in the blanks, and was really pleased with how in depth it was. It basically covered everything, and gave me loads of ideas and inspiration for how to use it. Heres my notes that i took in thinking rock. How to Setup and trigger Stutter Edit 1. Play stutter actions without midi keyboard by going to preset manager and clicking on the keyboard. 2. To play with midi keyboard add stutter edit to the audio channel, create a midi channel, and route its output to the audio channel and into stutter edit. Set the monitor to IN and then you wont need to turn on the record button to trigger it. Interface overview 1. It syncs with tempo of Daw 2. Note type - 1/2 note & 1/1024 selected you will get a stutter effect, if just the 1/2 or 1/4 you will get beat repeat mode. 3. Stutter module is where audio comes into the plugin 4. Quantize module is where you set the quantize and can reorder the audi 5. Gate width is the length of each the slices 6. Jump Pan is panning 7. Stereo Delay is dub delay with...
